How to Paint a Room Like a Professional
There is a particular kind of disappointment that comes from finishing a painting project and stepping back to find visible brush marks, wobbly lines where the wall meets the trim, and a finish that somehow still reads as “someone tried” rather than “this looks professional.” The frustrating part is that the gap between an amateur paint job and a professional one has very little to do with talent. It comes down to a handful of specific, learnable techniques, most of which happen before a single drop of paint ever touches a wall.
The Order Actually Matters More Than You Think
Professional painters follow a consistent sequence, and it is not arbitrary. Painting from the top of the room down protects the surfaces you have already finished from drips created while working on the ones below.
The order that consistently produces the cleanest results is ceiling first, then trim and moldings, then walls last. Painting the ceiling first means any stray drips land on a surface you have not painted yet rather than ruining fresh wall color. Trim comes next because it involves careful, detailed brushwork that benefits from a clean, unpainted wall around it. Walls come last, since any minor overlap onto already finished trim is far easier to correct than the reverse.
Preparation Is Where Professional Results Actually Begin
If there is one truth that comes up again and again across professional painting advice, it is this: the finish is decided before the painting starts. Skipping or rushing preparation is the single most common reason a DIY paint job looks unfinished, regardless of how carefully the actual painting is done afterward.
A proper preparation pass includes several steps worth taking seriously.
Clear and protect the room. Move furniture to the center of the space or out of the room entirely, remove switch plates, outlet covers, and any hardware that would be awkward to paint around, and lay down drop cloths to protect flooring from drips.
Clean the walls. Dust and light grease build up on walls over time, even when they look clean to the eye, and painting over this residue affects how well the new paint adheres. A wipe down with a mild detergent solution removes this invisible layer before you begin.
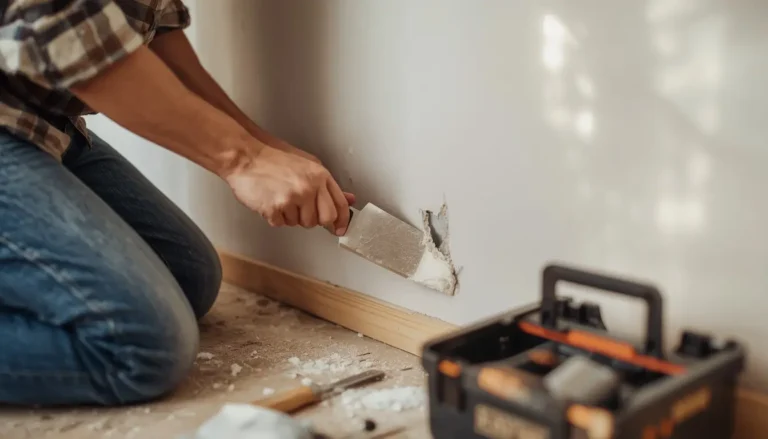
Repair imperfections. Fill any holes, cracks, or dents with a spackling compound, then sand the patched areas smooth once dry. Painting over an unrepaired imperfection does not hide it. It usually makes it more visible once the light hits the new coat of paint.
Prime where it counts. Priming is not always necessary, but it matters in specific situations: painting over a dark color with a lighter one, covering patched repairs, switching from an oil based to a latex paint, or painting a wall for the first time. Skipping primer in these situations often means needing extra coats of your actual paint color just to achieve even coverage, which costs more time and money than the primer would have.
Test your color on the actual wall. Paint swatches at the store consistently look different once applied to a real wall under your room’s actual lighting. Testing two or three sample patches directly on the wall, and observing them at different times of day, prevents the disappointment of a full room painted in a color that looked completely different on the card.
Mastering the Art of Cutting In
Cutting in refers to carefully painting the edges where a wall meets the ceiling, trim, or an adjacent color, using a brush rather than a roller. This is genuinely the technique that separates a polished result from an amateur one, and it takes some practice to get comfortable with.
A few specifics make a real difference here. Use an angled sash brush rather than a flat one, since the angled bristles are easier to control along a straight edge. Load the brush by dipping it into the paint, then tap it gently against the side of your container rather than wiping it, which keeps the bristles evenly loaded rather than lopsided. Work in two passes: first brushing on paint about half an inch away from the trim, then making a second, more careful pass that brings the line all the way to the edge.
Move your whole arm as you paint rather than just your wrist, which produces a noticeably steadier line. In corners, a slight wiggle of the brush helps release paint into the tight angle without leaving a gap. If you make a mistake, a damp rag wrapped around a putty knife can wipe it clean immediately, before the paint has a chance to set.
If a perfectly steady hand still feels out of reach, painter’s tape is a reasonable support while you build confidence, though it is not a substitute for the technique itself. If you do use tape, press the edges down firmly to prevent paint from bleeding underneath, and remove it either while the paint is still slightly wet or once it has fully dried, never in the in between stage where peeling becomes far more likely.
Rolling Walls Without Leaving Visible Marks
Once the edges are cut in, rolling the larger wall surface is where a lot of the visual texture of the final result gets decided. Load your roller evenly, rolling off the excess against the textured part of the tray so it is coated without dripping.
Apply paint using a W or M shaped stroke pattern across a roughly three foot section, then go back and fill in the gaps within that shape without lifting the roller. This distributes paint more evenly than simply rolling straight up and down repeatedly, which tends to leave visible ridges where each pass begins and ends.
The most important part of this stage is maintaining what painters call a wet edge. Work in adjoining sections while the previous section is still wet, rather than letting one area dry before moving to the next. Painting into a dry edge is what creates the faint overlap lines, sometimes called lap marks, that show up once the paint fully cures and catches the light.
Common Mistakes Worth Avoiding Entirely
A few mistakes show up consistently enough in DIY painting projects that they are worth naming directly.
- Using low quality brushes and rollers. Cheap tools shed bristles, apply paint unevenly, and often cost more in frustration and rework than a quality brush and roller would have cost upfront.
- Overloading the brush or roller. Too much paint on either tool is the most common cause of drips and runs, and it is almost always easier to add a second thin coat than to fix a thick, uneven one.
- Switching stroke direction inconsistently. Painting in random directions creates visible texture differences that become obvious in natural light. Sticking to one consistent direction, generally vertical for walls, produces a smoother, more uniform finish.
- Rushing the cutting in process. Moving too quickly along an edge is one of the most common causes of a jagged, uneven line. This is precision work, and it genuinely rewards patience over speed.
- Letting too much time pass between cutting in and rolling. Cutting in a section one day and rolling it the next often creates a visible difference in finish and color depth between the two. Working the same section while everything is still wet keeps the result consistent.
A Realistic Timeline
Budget roughly two to three days for a standard sized room, accounting for preparation, multiple coats, and proper drying time between them. Trying to compress this into a single rushed afternoon is one of the more common reasons results feel amateur, since insufficient drying time between coats affects both durability and final appearance.
Frequently Asked Questions
Do I really need to prime before painting?
Not always. Priming matters most when covering a dark color with a lighter one, painting over repaired patches, switching paint types, or working on a completely new wall. For a simple refresh in a similar color, an extra coat of your regular paint is often sufficient instead.
How many coats of paint does a room actually need?
Most rooms need two coats for full, even coverage and rich color depth, though a dramatic color change or a wall with visible patchwork may need a third.
Is painter’s tape necessary, or can I skip it entirely?
Skilled cutting in can absolutely replace tape, and many professional painters prefer working without it for speed. For beginners still building confidence, tape offers a helpful safety net, as long as it is applied and removed correctly to avoid peeling paint along with it.