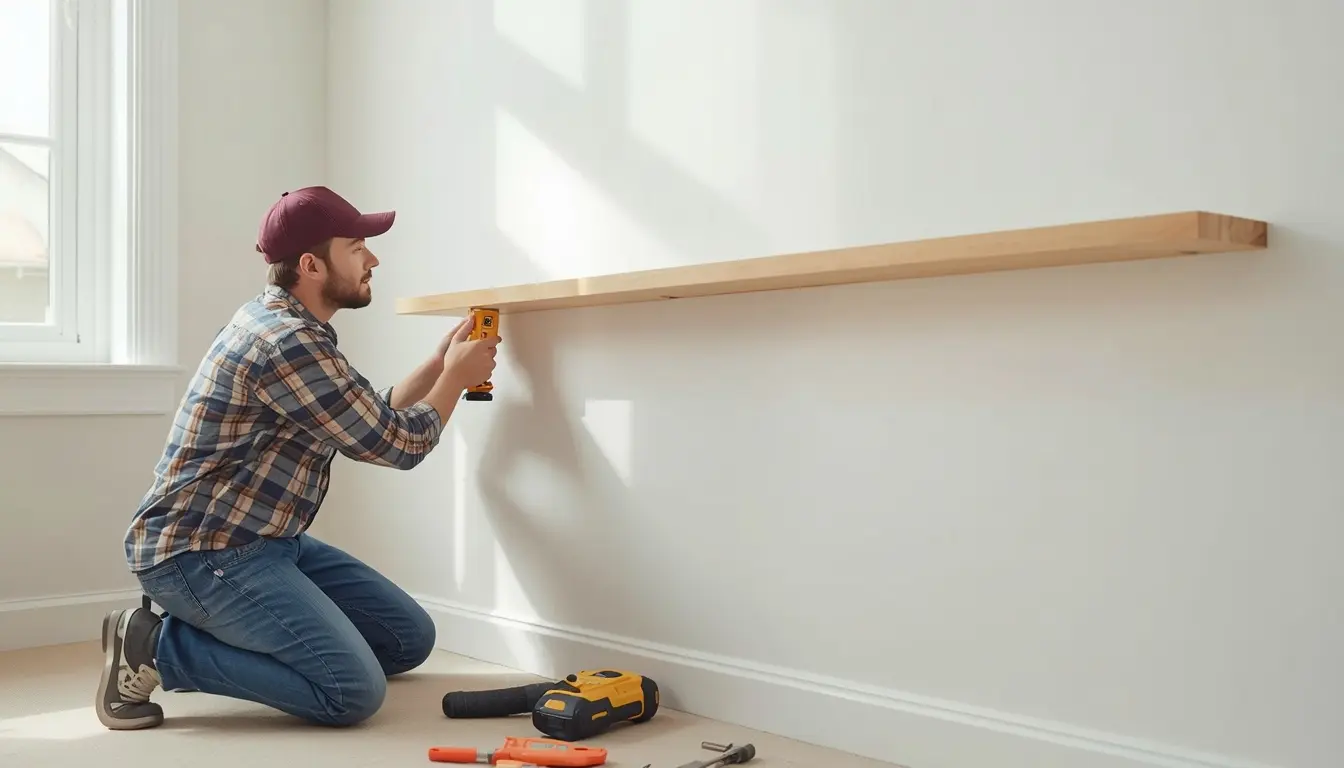
How to Hang Shelves Without Damaging Your Walls
The difference between a shelf that stays put for years and one that eventually rips out of the wall usually comes down to a single decision made before the first hole is ever drilled: whether you actually hit a stud, and if not, whether you chose the right anchor for the job. Most wall damage from hanging shelves is entirely preventable once you understand this one distinction.
Understand What Is Actually Behind Your Wall
Most interior walls are built from drywall, a panel material also called gypsum board, attached to wooden or metal framing called studs, typically spaced sixteen or twenty-four inches apart. Drywall on its own is genuinely weak. Without reinforcement, a single fastener driven straight into drywall alone typically supports only five to ten pounds before pulling loose, which is nowhere near enough for a shelf carrying books or decorative items.
A stud, by contrast, is solid wood or metal framing capable of supporting significantly more weight through a simple screw, no anchor required at all. This is why finding studs before you drill is the single most important step in the entire process, regardless of which specific shelf or bracket you are installing.
Find Your Studs Before You Do Anything Else
A stud finder, a small handheld tool that detects the change in density or the metal fasteners inside wall framing, makes this step quick and considerably more reliable than guessing. Run it slowly across the section of wall where you plan to hang your shelf, and mark each stud location lightly with a pencil once detected. Most stud finders work by sensing either the density change between drywall and solid framing, or the metal screws already used to attach the drywall to the studs themselves, so slow, steady movement across the wall tends to produce a more accurate reading than a quick single pass.
If you do not have a stud finder on hand, a low tech alternative works reasonably well too. Knock gently along the wall and listen carefully. A dull, muffled sound indicates hollow drywall with no framing directly behind it, while a firmer, more solid knock suggests a stud sitting just behind that spot. This method takes a bit more practice to read accurately, but it works in a pinch if a proper stud finder is not available.
Once you have located a stud, and it lines up reasonably close to where you actually want your shelf, mark its exact center specifically, since centering your screw on the stud rather than its edge gives you the most secure possible hold.
When No Stud Lines Up, Choose the Right Anchor
Not every shelf position lines up conveniently with a stud, and that is completely normal. This is where wall anchors come in, hardware specifically designed to create a strong mounting point in hollow drywall or denser plaster that a screw alone cannot support on its own. Plaster walls, common in older homes, behave a little differently from drywall as well. They are denser and generally stronger than drywall alone, but also more brittle, which means they can crack unexpectedly if drilled too aggressively or without a properly sized pilot hole.
For lighter items, simple plastic expandable anchors are usually sufficient and easy to install. For anything heavier, books, a decorative plant collection, or anything with real weight, toggle bolts or molly bolts distribute the load across a much wider area behind the wall, allowing them to support considerably more weight than a basic plastic anchor. Premium toggle style anchors split the difference nicely for many situations, offering very high weight capacity while requiring a smaller hole than a traditional toggle bolt, which matters if you are a renter thinking ahead to how easily that hole will patch later.
Always check the specific weight rating listed on any anchor’s packaging against what you actually plan to place on the shelf, and err toward a sturdier option if you are at all unsure, since an overloaded anchor failing suddenly can genuinely damage both the wall and whatever was sitting on the shelf.

Mark, Level, and Drill With Intention
Once you know exactly where your studs or anchors will go, use a level to draw a straight, accurate line across the wall where your shelf will sit, rather than eyeballing it. A shelf that is even slightly off level becomes noticeably obvious once anything is placed on top of it.
Drill pilot holes sized appropriately for your specific screws or anchors, following the sizing guidance on the anchor’s packaging closely, since a hole that is too large weakens the anchor’s grip considerably. If you are working with an anchor rather than a stud, insert it fully according to the manufacturer’s specific instructions before attaching your bracket or shelf.
Match the Anchor to What You Are Actually Hanging
It helps to think through the realistic weight of what will actually sit on a shelf before choosing hardware, rather than assuming any anchor will do. A small decorative shelf holding a few candles or picture frames rarely needs anything beyond a basic plastic anchor. A shelf meant to hold a stack of hardcover books, a stereo speaker, or anything with genuine density calls for a toggle bolt or molly bolt from the start, since underestimating the load is the single most common reason an otherwise properly installed shelf eventually fails.
It is also worth considering how the weight will be distributed once items are placed. A shelf loaded evenly across its full length puts far less strain on any single anchor point than one where most of the weight concentrates at one end, so spreading heavier items across the shelf rather than clustering them all together adds a meaningful margin of safety even with the correct hardware in place.
Renter Friendly Options That Leave Almost No Trace
If you are renting and want to avoid drilling into walls entirely, a few genuine alternatives exist. Adhesive hooks and strips rated for hanging wall storage can support lighter shelving systems, particularly wire basket style shelves, though it is essential to respect the specific weight rating on the packaging rather than assuming it can hold more than it is rated for. Freestanding shelving units, bookcases, or ladder style shelves offer another route entirely, providing genuine storage without touching the wall at all, and they move with you easily when you eventually relocate.
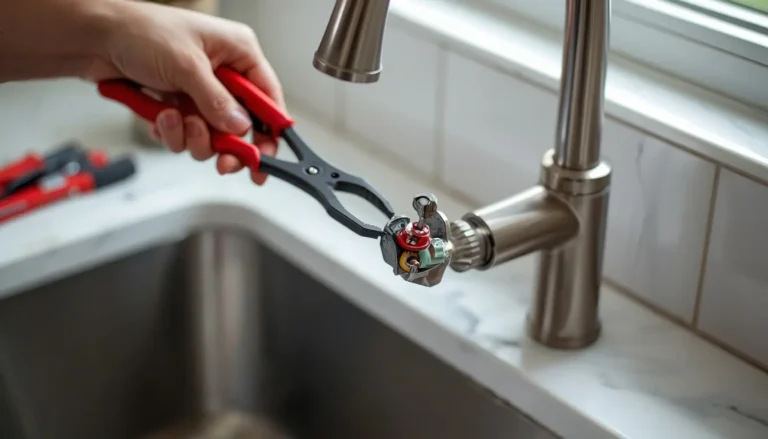
If you already have some confidence with basic tools from other small repairs around the house, the same care around matching hardware to the job applies directly to fixing a leaky faucet yourself as well, since both projects genuinely reward taking a moment to identify what you are actually working with before reaching for a tool.
A Small Amount of Planning Prevents Most Damage
Nearly every case of a shelf pulling out of a wall traces back to skipping one of these steps: guessing at stud location instead of checking, using an anchor rated for less weight than what actually went on the shelf, or rushing the leveling and drilling process. Taking the extra few minutes to confirm what is actually behind your wall, and matching your hardware honestly to what you plan to store, is what separates a shelf that lasts for years from one that eventually lets you down at the worst possible moment, often with a small crash and a patch job that could have been avoided entirely. This same habit of slowing down before a repair, rather than rushing straight to the drill, is worth carrying into any of the essential beginner home repair skills covered elsewhere, since the preparation step tends to matter more than the actual repair itself.